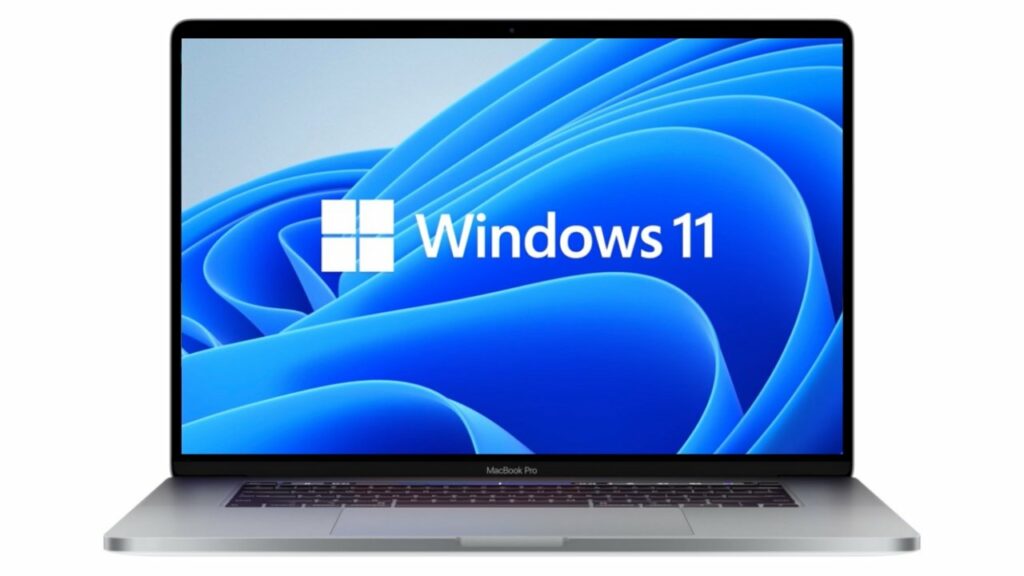
WARNING: you need to be a very experienced user to follow the Windows 11 on incompatible mac method explained here, in particular knowing how to use BootCamp to install Windows 7, 8 or 10 on a mac. If you don’t, we can do it for you, see our package.

First of all, you’ll need a Windows 10/11 hybrid USB installation medium, which you’ll create by following this page except for step 6.
Then you can run the BootCamp utility to install Windows 11 on incompatible Macs.
Then the Mac may crash due to incompatible BootCamp drivers. To check this, you’ll need to start Windows 11 in Safe Mode (on the Home screen, don’t log in, but hold down the Shift key while you click on Restart, and wait for the message Wait. On restart, go to Advanced Options > Troubleshooting > Settings).
If the system is stable in safe mode, it’s a driver problem. If possible, you should obtain the latest BootCamp drivers for your Mac, from macOS using the BootCamp wizard, or check the services launched at startup for Apple services, particularly those relating to the keyboard, and disable them one by one to find the culprit (start with Apple Keyboard Manager or equivalent).
Sometimes the forced installation of Windows 11 on incompatible mac is not complete, in particular the Windows Security Center does not work properly, and the Security Center icon is not displayed. Check with Settings > Privacy & Security > Windows Security > Open Windows Security. If nothing is displayed, this is the case. If you are experiencing this or any other malfunction, we recommend that you install the software again.
We’ll therefore configure Windows 11 to accept reinstallations on non-compatible hardware:
- In the search field of the start menu, enter the command regedit.
- Open the Registry Editor.
- Unroll the following key:
HKEY_LOCAL_MACHINE\SYSTEM\Setup\MoSetup - Click on the Edit menu, on New and then on DWORD Value (32 bits).
- Name the new value AllowUpgradesWithUnsupportedTPMOrCPU and double-click it.
- Enter 1 in the Value data field and validate.
- Close the registry editor.
Then
Create a folder, for example C:\ESD\WIN11
In this folder, create the file skip_tpm_check.txt and copy and paste the script skip_tpm_check.txt.
Rename this file to skip_tpm_check.cmd
right-click as administrator on skip_tpm_check.cmd
Now you can use the Windows 11 installation wizard to reinstall Windows 11:
The windows 11 media creation tool can be found here.
Simply download the Windows 11 installation wizard and run it.
To install drivers, keyboard, etc., you may use the BootCamp setup downloaded when you user the BootCamp assistant on macOS, even if these are drivers for previous Windows versions. You will now get a loop on BSOD crash, due to HFS volumes drivers to be disabled, together with the BootCamp service itself:
1) Boot into Windows Safe Mode (if you are here, you are supposed to know how to do)
2) Navigate to c:\windows\system32\drivers\
3) Rename AppleHFS.sys to AppleHFS.sys.BACKUP
4) Rename AppleMNT.sys to AppleMNT.sys.BACKUP
5) Disable BootCamp service in startup elements.
6) Reboot into normal Windows mode.
You may notice after rebooting that Windows will no longer mount your HFS macOS volumes. If you need access to these volumes from windows, one solution is to install MacDrive.
The Apple keyboard is to be declared from regional settings.